
The fitting, start to finish.
Charge, install and set your Neversoft valve caps in six simple steps — on video, in writing, and with the pressure-mode table.
Watch one go on, then do yours.
One continuous recording of the pump being fitted, from the valve as you find it to the pump running.
Just under two minutes, with soundIt starts when you press play and not before. Until you do, a phone downloads the still frame rather than the whole recording.
The written steps followBelow the video: the six installation steps, photographs of the cap going on, and the blink sequence for setting your pressure mode. If something is not covered, the FAQs are the next stop, then the office.
Charge, fit and set, in six steps.
Use the pressure specified by your boat manufacturer when preparing your tubes and selecting your cap's pressure mode.
Charge in direct sunlight
Place your Neversoft caps in direct sunlight for one day before installation.
Pre-inflate your boat
If it is not already inflated, inflate your boat's tubes to the manufacturer's PSI specification before fitting the caps. Neversoft caps maintain tube pressure; they are not intended to inflate a boat from flat.
Fit the Neversoft cap
Remove the original valve cap and replace it with your matching Neversoft cap. No tools are needed.
Check automatic activation
Once fitted, the cap senses pressure: the pump runs briefly and the indicator lights flash. The number of blinks shows the cap's current mode.
Set your pressure mode
Select the mode that matches your boat manufacturer's recommended tube pressure, using the programming sequence and the table below.
Relax and enjoy
That's it — your Neversoft cap is set. Time to kick back and enjoy your favourite beverage.
Fitting the cap
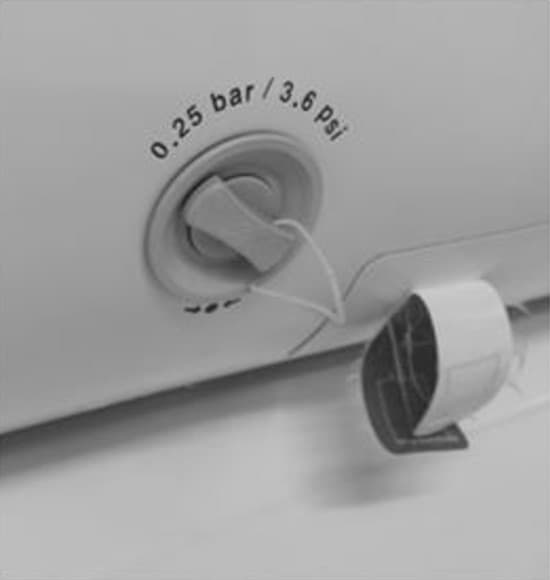
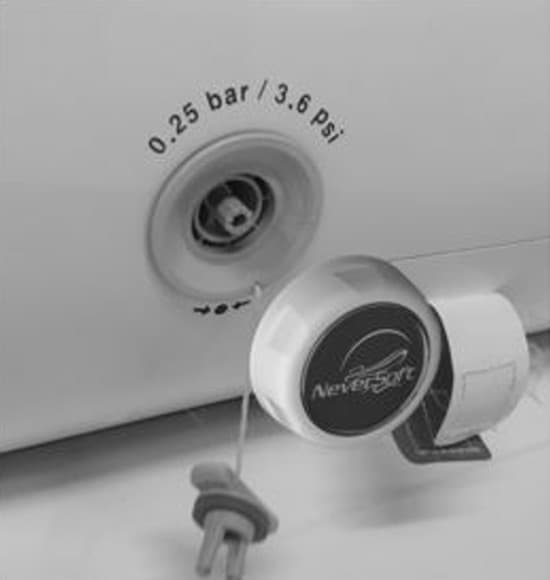
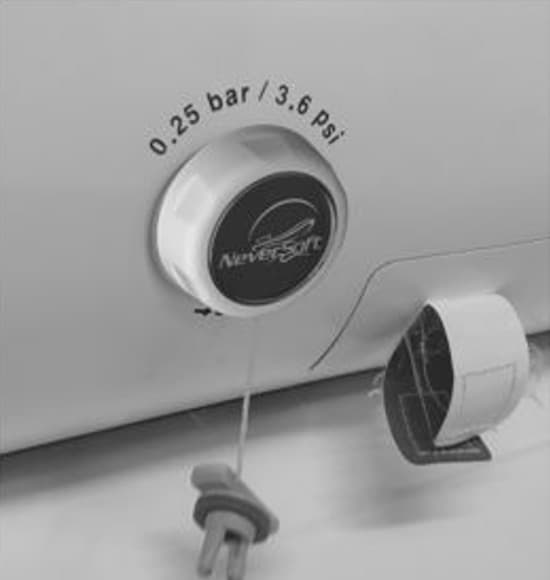
Four target pressures, one to match your builder.
The mode you choose is the average high pressure the pump holds the tubes at. Set it to the figure your boat's manufacturer specifies.
Enter programming mode
When first fitted, the pump runs briefly and the lights flash to show its current mode. Remove the cap while the lights are flashing to enter programming mode.
Watch the blink sequence
Each mode's sequence runs for approximately 15 seconds before moving on to the next. Use the table to identify each setting.
Select your mode
Refit the cap while the lights are flashing the mode you want. The LEDs flash the selected sequence back to confirm it.
| LED sequence | Mode | Target pressure |
|---|---|---|
| 1 blink | Mode 1 | 2.0 PSI (140 mb) |
| 2 blinks | Mode 2 | 2.5 PSI (170 mb) |
| 3 blinks | Mode 3 | 3.0 PSI (205 mb) |
| 4 blinks | Mode 4 | 3.5 PSI (240 mb) |
On in a couple of minutes, then hands off for good.
Fit it to the valve, choose the target your builder specifies, and let it hold the pressure from there.